

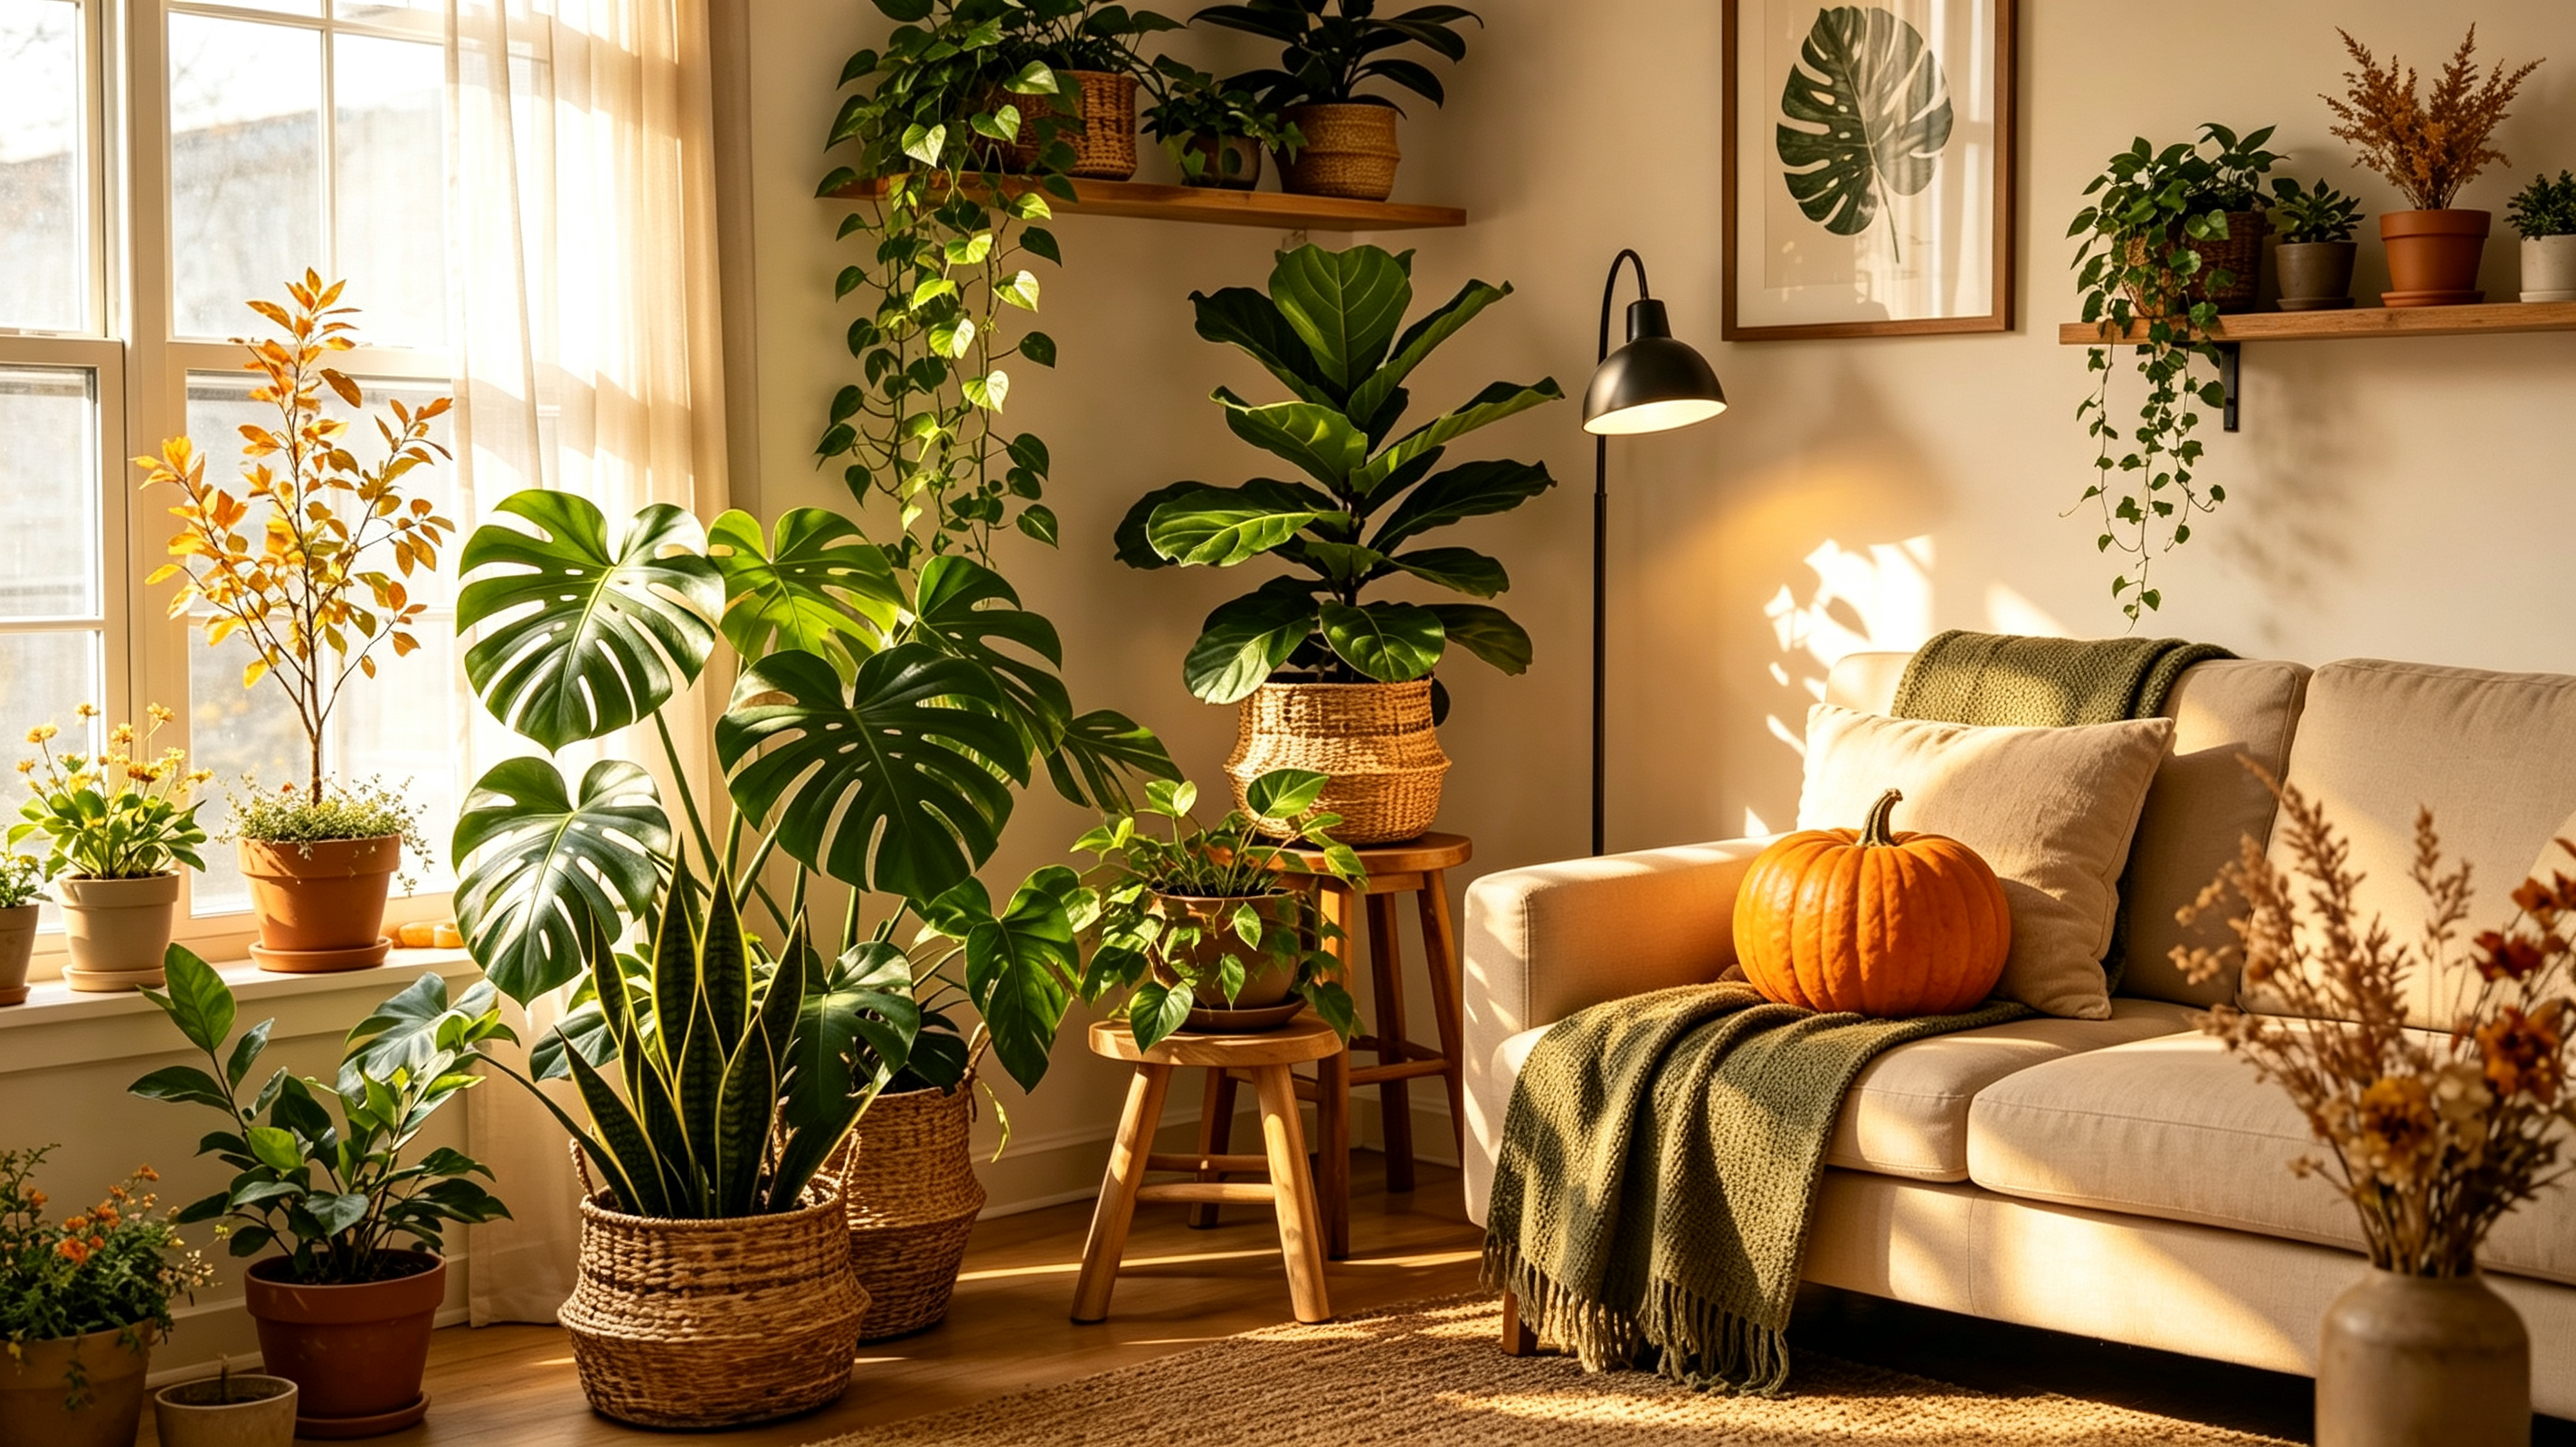
Let’s be real for a second. You’ve spent all summer patting yourself on the back. Your monstera was unfurling leaves like it was in a race, and your snake plant was so low-maintenance it practically thanked you for ignoring it.
Then, mid-October hits.
Suddenly, that same monstera is looking a little... droopy. A few lower leaves on your fiddle-leaf fig have turned a suspicious shade of yellow. And you swear that fern is judging you from across the room.
Welcome to the Fall Plant Parent Panic. It’s an annual tradition, right up there with pumpkin spice and putting off your winter coat shopping.
Here’s the secret no one tells you: your plants aren’t dying. They’re just adjusting to a new reality. The sun has gone on vacation, and they’re throwing a low-key tantrum about it. The good news? You don’t need a greenhouse or a degree in botany to smooth things over. You just need to understand why they’re stressed, and make a few strategic moves to get back in their good graces.
The Core Issue: It’s All About the Sun (or Lack Thereof)
Forget the dropping temperatures for a moment. The real game-changer in fall is photoperiod—the length of the day. As the sun dips south, the quality, intensity, and duration of natural light plummet.
Think of it like this: your plant’s internal engine runs on sunlight. In July, it was running at full throttle, gobbling up water and nutrients to push out new growth. Now, the fuel supply is dwindling. If you keep trying to feed it like it’s still a hungry teenager, you’re going to have a problem. That’s where most of our fall mistakes begin.
Here’s your game plan for a drama-free autumn. We’re going to tackle this in three distinct phases: The Watering Reset, The Humidity Hack, and The Light Intervention.

Phase 1: The Watering Reset (Or, How to Stop Drowning Your Plants)
This is the number one killer of houseplants, and it’s almost always a fall issue.
The Mistake: You’re still watering on a schedule. "It's Saturday, time to water the plants!" Stop that. Your plants don’t know what day it is.
The Fix: Switch from a calendar-based routine to a plant-based assessment.
- The Knuckle Test (Trusted by Grandmas Everywhere): Stick your finger about an inch or two into the soil. If it’s dry, get out the watering can. If it’s damp or cool to the touch, step away. Check again in three days.
- The Lift Test: This takes a bit of practice, but it’s a pro move. Lift the pot right after you water it. Note the weight. A week later, lift it again. If it feels significantly lighter, the soil has dried out and it’s thirsty. A heavy pot means there’s still moisture in the soil.
- The Empty Tray Mandate: This is non-negotiable. Water your plant, let it drain thoroughly for 15 minutes, and then empty the saucer. Leaving water pooled at the bottom is an open invitation for root rot. It’s the plant equivalent of sitting in wet socks all day—unpleasant and unhealthy.
A Quick Note on the "Why": As growth slows, the plant's metabolism slows. It simply isn't transpiring (releasing water vapor) as quickly as it was in July, so the soil stays wet for longer.
Phase 2: The Humidity Hack (Your Tropicals Are Begging for This)
Here’s something that catches a lot of people off guard. As we crank up the heating in our homes, the air gets dry. Really dry. If you live in a colder climate and your heater is already running, your indoor humidity could drop to levels akin to the Sahara Desert.
And your tropical houseplants? They evolved in steamy, humid rainforests. They are not fans of dry desert air.
The Symptoms: Crispy brown leaf tips, curling leaf edges, and a general lackluster appearance.
The Fix: You don’t need a fancy, expensive setup to fix this. Try one of these low-tech, high-impact solutions:
- The Plant Huddle: Group your plants together. When they’re clustered, they create their own little microclimate through transpiration. It’s like a small, leafy support group where everyone shares moisture.
- The Pebble Tray: This is the classic for a reason. Place a shallow tray filled with a layer of pebbles or small stones under your pot. Add water until it reaches just below the top of the pebbles. As the water evaporates, it raises the humidity directly around your plant. (Just make sure the pot’s drainage hole isn't sitting in the water!)
- The "Shower" Treatment: Once a month, give your plants a gentle lukewarm shower. This cleans dust off their leaves (dust blocks light!), gives them a big burst of humidity, and helps dislodge any early pest visitors.

Phase 3: The Light Intervention (Your Secret Weapon)
Let’s have an honest moment. That window you think is "super bright"? It’s not. At midday, even the brightest window is about a thousand times dimmer than shade outdoors. In fall, that light level drops even more.
Most houseplants thrive on 12-14 hours of good light. In fall, we’re lucky to get 8 decent hours of weak sunlight. You can't just rely on the window.
The Solution: Supplemental lighting isn’t just for commercial growers. It’s a game-changer for the home plant parent.
- Forget the Purple Lights: The old-school "blurple" grow lights are harsh and turn your living room into a nightclub. Instead, look for full-spectrum LED grow bulbs that emit a warm, white light. They look great, and your plants will love them.
- The Timer is Your Best Friend: Plants need a consistent day/night cycle. Get a cheap outlet timer and set it to run for 12-14 hours a day. Consistency is what helps them thrive.
- Distance Matters: For most standard grow lights, position the light about 8-12 inches above the foliage. If you see leaves starting to turn pale, it’s too close. If your plant is starting to stretch towards the light (called etiolation), it’s too far away.
Think of it this way: A good grow light is like a SAD lamp for your plants. It helps them maintain their mood, color, and growth even when the days are short and dreary.
The Side Notes: What to Stop Doing
Stop Fertilizing: Your plant is slowing down. It doesn't need a buffet right now. Fertilizing in fall can actually burn the roots because the plant isn’t actively using the nutrients. Stop now, and pick it up again in early spring.
Hold the Repotting: Repotting is stressful. It’s like moving houses. You wouldn’t want to move in the middle of winter, and your plant doesn't want to, either. Unless the roots are literally bursting through the pot, wait until the spring growth spurt.
Do a Pest Patrol: If you’re bringing outdoor plants inside, this is critical. Before they cross the threshold, give them a thorough once-over. Check under the leaves, check the stems, and check the soil. Isolate new arrivals for a few weeks to ensure they aren’t bringing any unwanted stowaways that will throw a party in your indoor garden.
The 5-Minute Weekly Check-In
Don't overthink this. You don't need a chore wheel. Just set aside a few minutes on a Sunday to do a quick "plant audit."
- Look: Are any leaves yellowing or drooping?
- Lift: Does this pot feel too light or too heavy?
- Wipe: Dust on leaves? That’s like a blanket blocking light. Gently wipe it off with a damp cloth.
- Listen (Yes, Listen): Notice any new growth? A tiny new leaf in fall is a huge win—it means you’re doing something right.
The Bottom Line
Fall doesn't have to be the season where your indoor jungle starts to crumble. It’s a season of transition, and with a few simple tweaks, you can make it a season of resilience.
Your plants aren't trying to make your life difficult. They’re just trying to survive. Your job, as the plant parent, is to help them adapt. Adjust your watering, boost that humidity, add a little light, and you’ll be amazed at how well they pull through.
And when that first new leaf unfurls in the middle of a gray November? You’ll know you nailed it!
Got a specific plant crisis? Drop a comment below and let’s troubleshoot. And if this guide saved you from a potential overwatering disaster, feel free to share it with a fellow plant enthusiast.
Partager:
The Complete Guide to Healing Sunburn in Houseplants