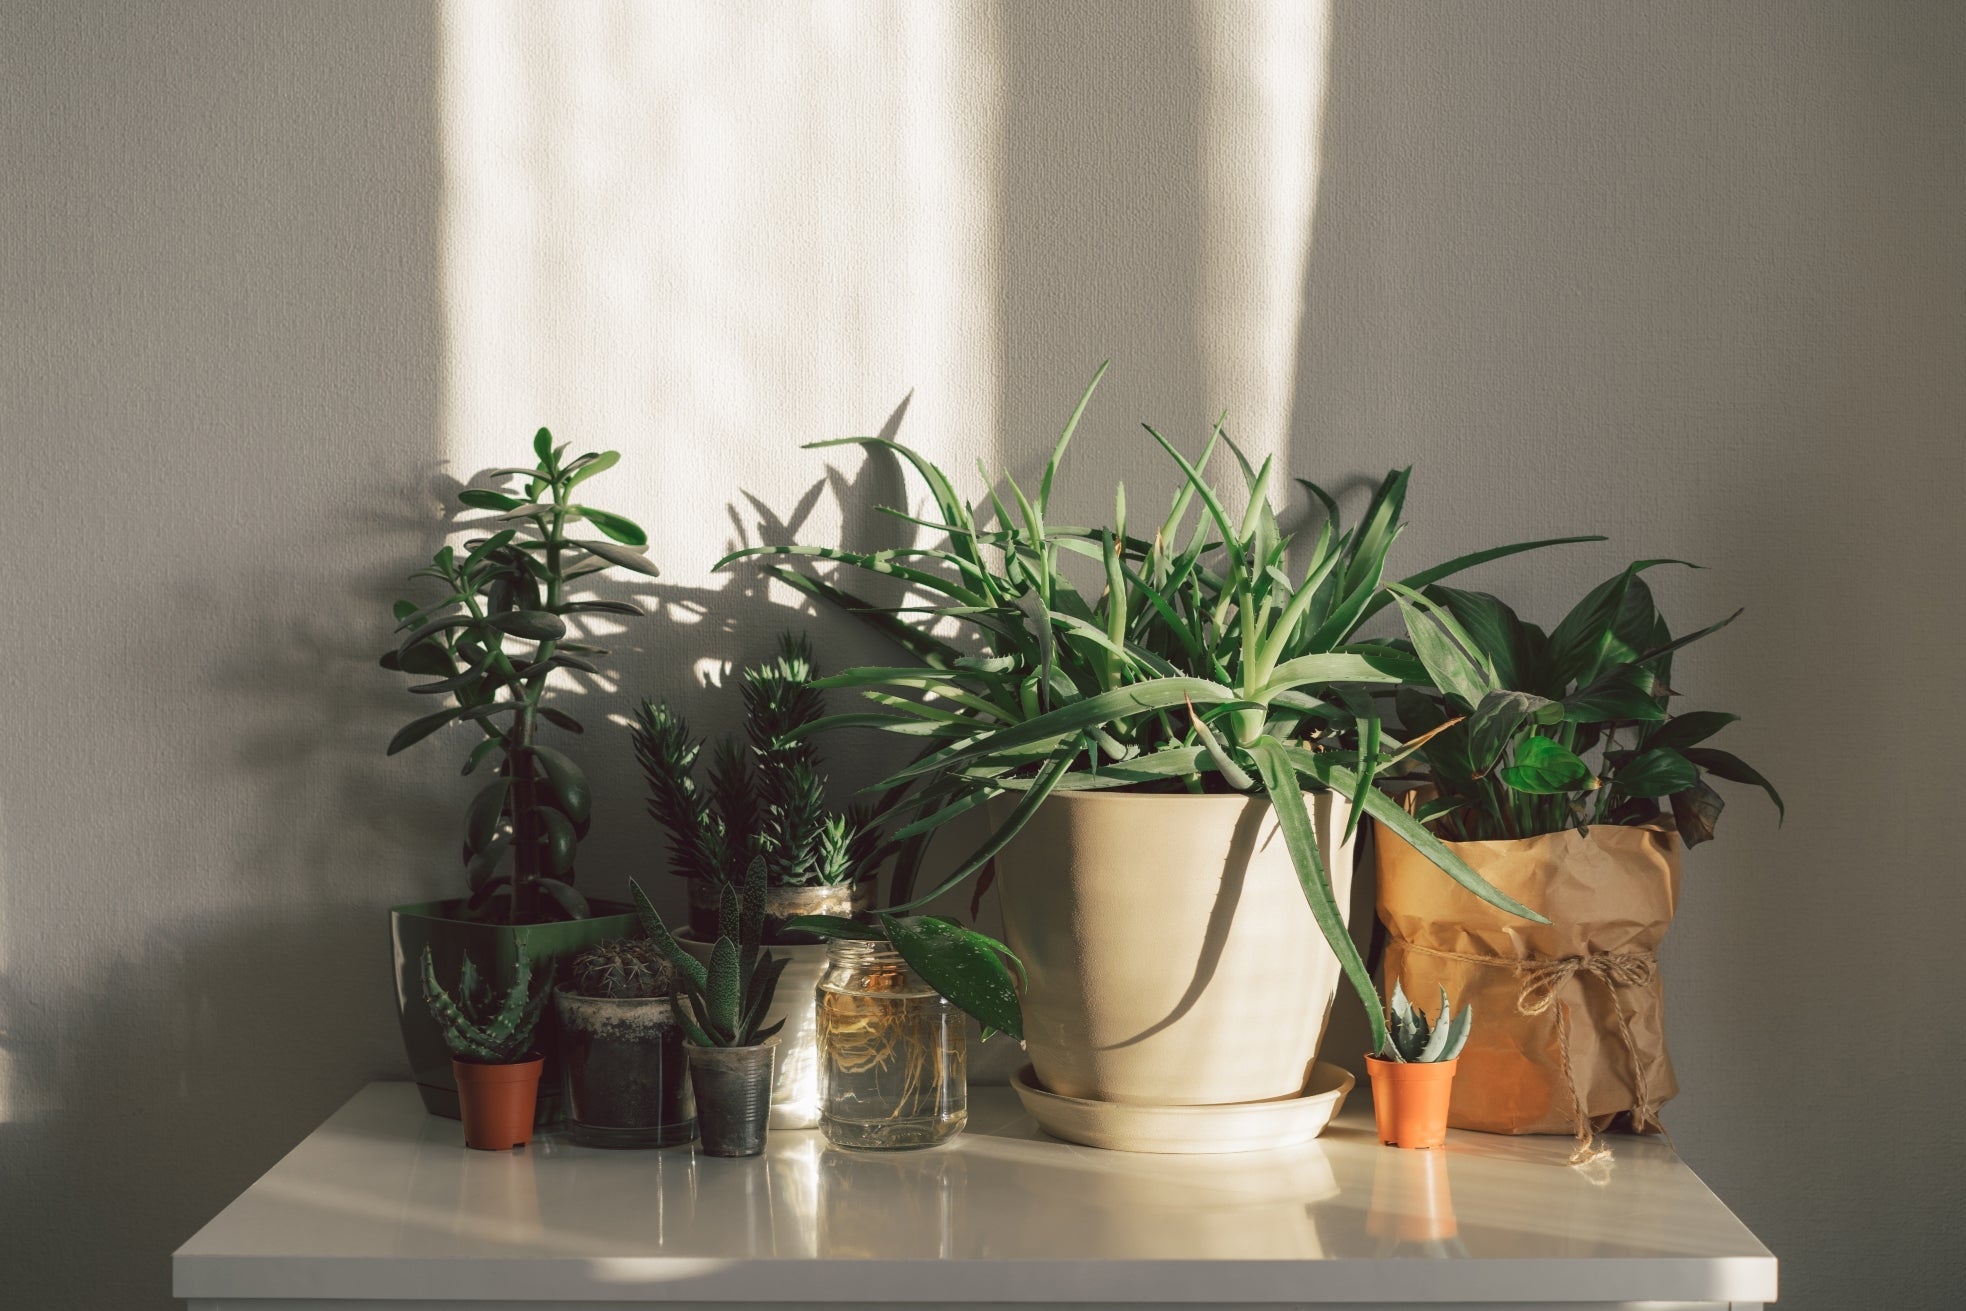
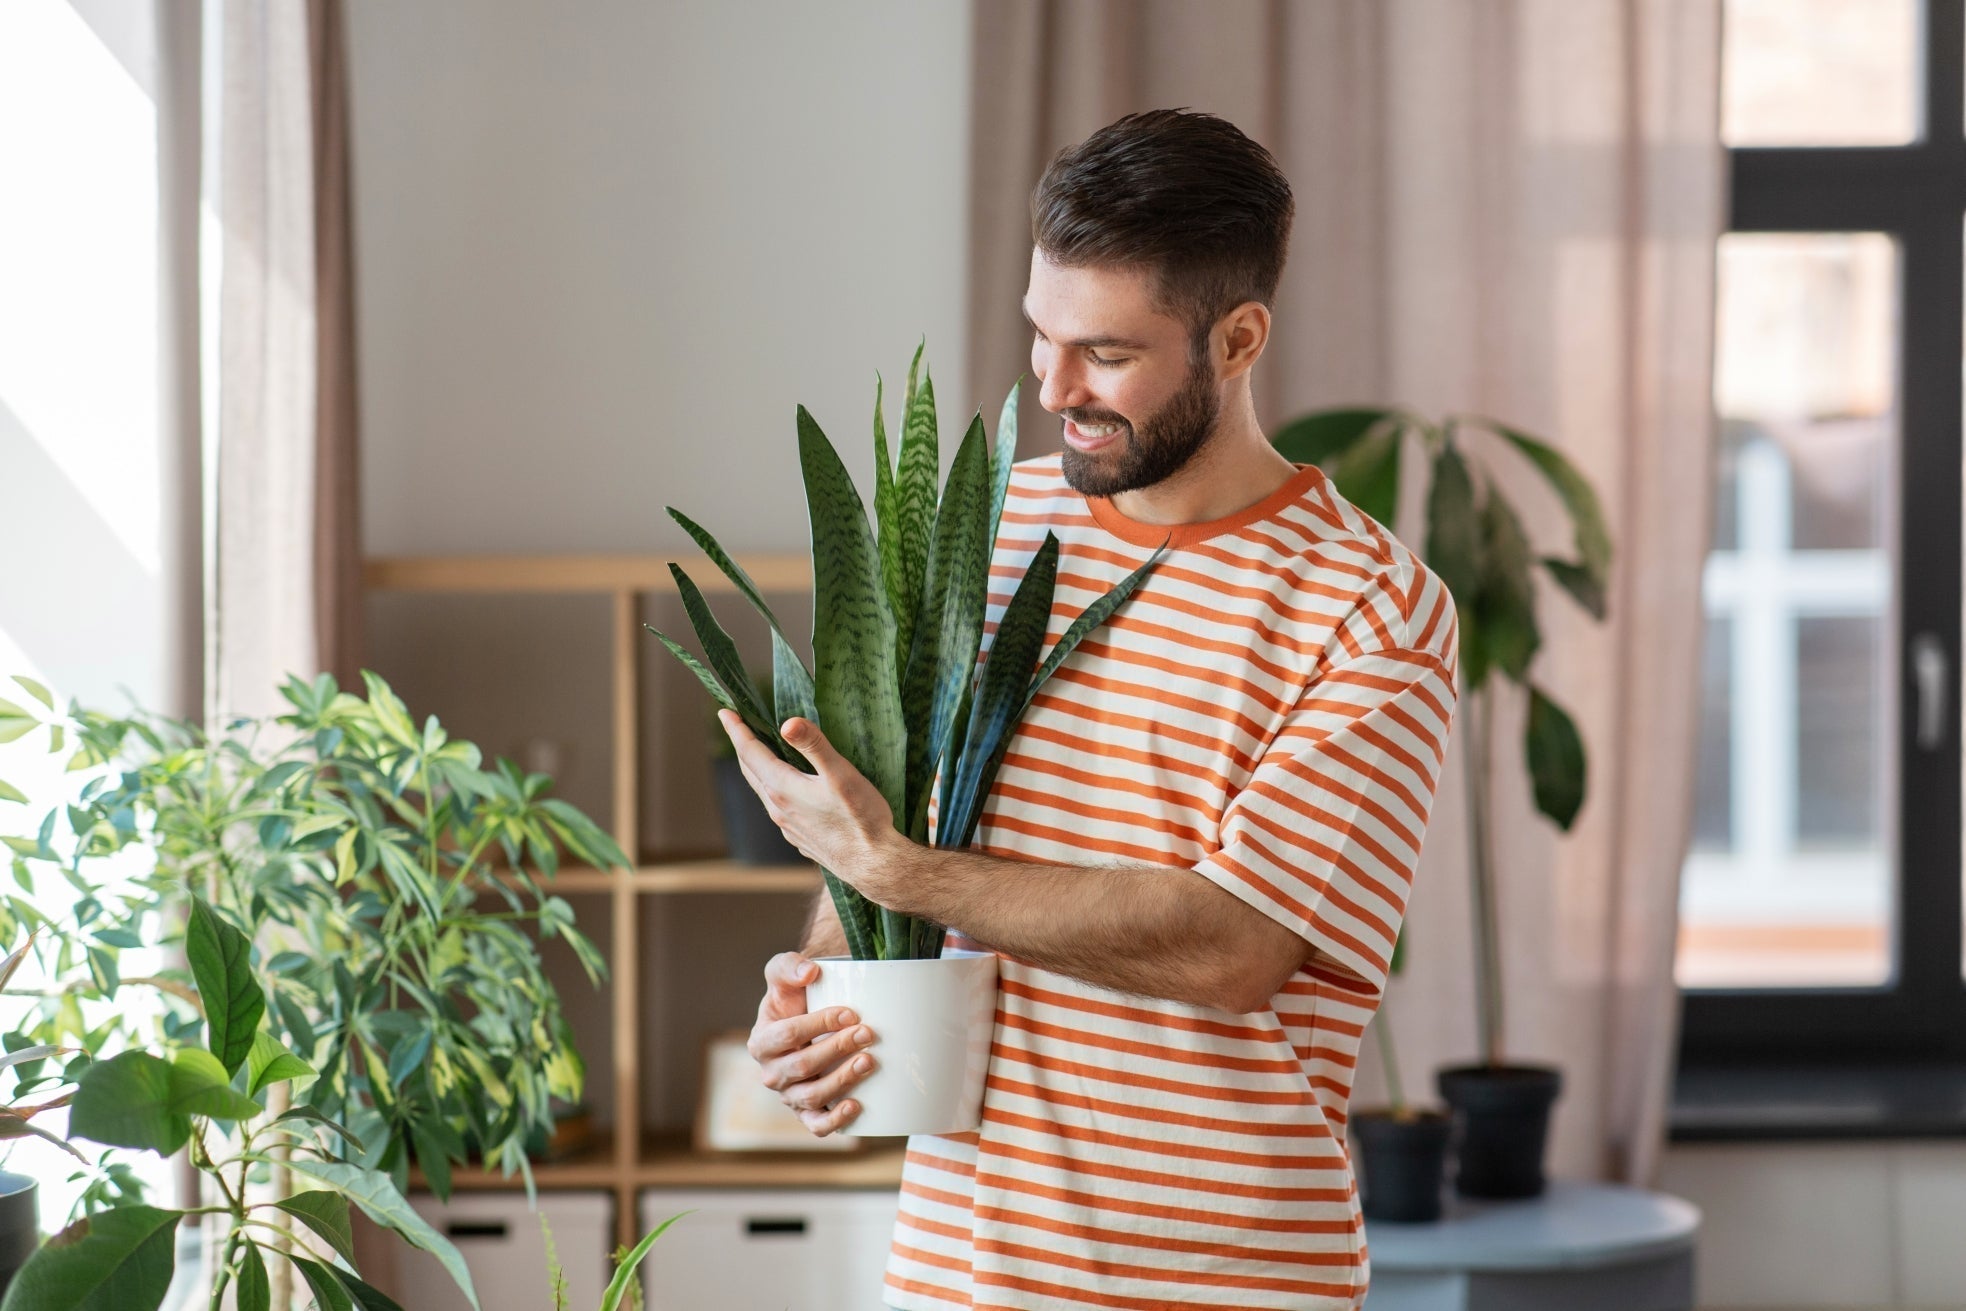
Alright, let's have a real talk. That gorgeous Monstera you've been proudly showing off all summer? Lately, it's been giving you... a look. You know the one. The days are getting unmistakably shorter, the morning air has that distinct autumn crispness, and your outdoor plant squad is starting to sense the shift. This is the time of year when many of us watch our lush, summer glory slowly morph into a heartbreaking display of yellowing leaves and dramatic, crinkly leaf-drop performances.
But it doesn't have to be this way. Moving your plants from their sunny summer vacation to a cozy indoor spot for fall doesn't require a PhD in horticulture or a massive, stressful effort. The secret is all about working with the season's natural rhythm. Consider this your ultimate, no-stress playbook for transitioning your plants in a way that keeps them actively thriving - not just barely surviving - through the cooler months. Let's skip the guessing game and get smart about it.
Step 1: Master the Timing (The Secret is Starting Early)
The number one mistake? Playing the waiting game until it's too late. You wouldn't wait until you're already sneezing to put on a sweater, right? Give your plants the same courtesy.
Ditch the Calendar, Watch the Thermometer: Your green light to start is when nighttime temperatures begin to consistently hover around 50°F (10°C). For most popular tropical houseplants, this is the comfort zone threshold. When it gets chillier than this, their growth starts to slow, making them much more susceptible to shock from a sudden environmental change.
The "Early September" Sweet Spot: For a huge portion of the U.S., the timeframe right after Labor Day is your golden window. The intense, blistering summer heat has usually passed, but you still have plenty of mild days and weeks ahead to execute a slow, gradual transition.
Your Pro Move: Do a quick Google search for your zip code plus "first frost date." Once you have that date, count backwards 3 to 4 weeks. That's your personal, can't-miss deadline to begin the process. Remember, this is a marathon, not a sprint.
Step 2: The Pre-Move Pampering: Acclimation & Pest Eviction

You can't expect a plant to go from a main stage festival environment to a quiet library overnight. They need a proper backstage pass to adjust.
The "Hardening Off" Head Start: Don't let the technical term intimidate you. This simply means gently preparing your plants for a less intense environment.
· Week 1: The Shady Retreat. Begin by moving your plants from their direct sun summer spots to a fully shaded or lightly dappled area in your yard or on your patio. This one move alone can slash their light intensity by more than half, starting the crucial acclimation process while they still enjoy the benefits of good outdoor air circulation and humidity.
· Week 2: The Part-Time Indoor Schedule. Now, start bringing your plants inside for the nights. During the day, return them to their shady outdoor spot. This introduces them to the stiller, drier indoor air in small, manageable doses, preventing shock.
The Non-Negotiable Pest Patrol: Your outdoor plants live in a vibrant, wild ecosystem. Your indoor plant collection is your carefully curated sanctuary. Never mix the two without a thorough security screening.
· The Top-to-Bottom Inspection: Get hands-on. You need to scrutinize the undersides of leaves, along the stems, and at the base of the soil for any signs of stowaways like spider mites, aphids, mealybugs, or scale. Using a magnifying glass for this is totally justified.
· The Eviction Protocol: Give your plants a thorough shower - yes, literally. A powerful spray from your garden hose (or your shower head for smaller plants) can wash away most common pests. For a more guaranteed clean slate, follow up with a treatment of insecticidal soap or a neem oil solution, making sure to coat all surfaces. Let the plant dry off completely outdoors before its final move inside.
· The Quarantine Zone: When you first bring your plants indoors, keep them isolated from your established indoor plant family for a solid 1-2 weeks. Think of it as a mandatory wellness retreat to ensure no hidden pests emerge and cause an outbreak.
Step 3: Become Your Plant's Personal Sun: The Grow Light Game-Changer
Here's the unfiltered truth: even the brightest, sun-drenched south-facing window in the fall is a dimly lit cavern compared to a full summer day outside. Investing in a proper full-spectrum grow light is the single most impactful thing you can do for your plant's health and happiness during the indoor months. This is what truly separates the struggling plant owners from the successful ones.
Bridging the "Light Gap": It's a matter of simple math. A plant enjoying a shaded spot outdoors might still be bathing in thousands of foot-candles of light. Your prized sunny windowsill might only offer a few hundred. A quality grow light is your essential tool to seamlessly close this dramatic gap.
Finding Your Perfect Light Match: The world of grow lights has had a major glow-up. Forget the harsh, purple beams of the past. Today's best options are sleek, effective, and designed for people who care about their home's aesthetic.
· For the Statement Maker: If you have a towering Fiddle Leaf Fig or a sprawling Monstera that serves as a room centerpiece, a SANSI standing grow lamp is a perfect fit. It delivers the powerful, targeted light these larger plants crave, all while looking like a stylish piece of modern decor.
· For the Shelfie Connoisseur: If your pride and joy is a beautifully curated shelf of pothos, string of pearls, and philodendrons, a slim SANSI Pot Clip Grow Light or a Puck Grow Light is your ideal solution. They provide broad, even coverage to prevent that sad, leggy growth, all without interfering with your carefully composed #shelfie aesthetic.
· For the Smart Repurposer: See that unused lamp in the corner? With a SANSI plant grow bulb, it's no longer just a lamp - it's your plant's new personal sun. This is the simplest, most brilliant hack for giving a precise light boost to any solitary plant. Just screw it in, and you've instantly transformed your favorite decor piece into a powerful growth engine for your ZZ plant or Chinese Evergreen. It's not a new gadget; it's a smarter version of what you already have.
The Graceful Transition: When you first introduce the grow light, resist the urge to crank it to maximum power on day one. That's like swapping the gentle, natural sun for a harsh stadium spotlight. If your light is dimmable, start it at a lower intensity (around 60-70%) and gradually increase it over the first week. This "soft launch" perfectly mimics the slow, gentle dimming of the autumn season and prevents shocking your plants with a sudden light overdose.
Step 4: The First Weeks Inside: Learn Your Plant's Language
Your plants are constantly communicating their needs; you just have to learn to interpret the signals. The first few weeks after the final move are a critical observation period.
The Delicate Distance Dance: Begin with your grow light positioned about 12-18 inches away from the top leaves of your sun-loving plants. Then, become a detective:
· Are leaves turning pale, yellow, or developing crispy, brown spots? This is classic leaf scorch. Your plant is clearly telling you, "This is too much! It's too intense!" Solution: Move the light further away or dial down the intensity.
· Are the stems getting abnormally long and stretched out, with more space between each leaf? This is etiolation. Your plant is desperately, awkwardly reaching for more photons. Solution: Move it closer to the light source or increase the brightness.
Consistency is Your Best Friend: Use a Timer! The predictable shift in day length is a major natural cue for plants. You can easily recreate that reassuring predictability indoors with a simple, inexpensive timer. Providing a consistent 12-14 hour "day" gives your plants a stable rhythm, clearly telling them when it's time to work (photosynthesize) and when it's time to rest. This stability alone works wonders in reducing transition stress.
Step 5: Beyond the Light: Nailing the Indoor Microclimate
While light is the undisputed star of the show, the supporting cast - humidity, water, and temperature - are essential co-stars that can make or break the entire performance.
Give Them a Humidity Hug: Summer air is naturally moist; indoor air, especially once you turn on the heat, becomes a desert.
· Group Therapy: Cluster your plants together. They'll naturally create a more humid microclimate around themselves through the moisture they release (transpiration).
· The Ultimate Solution: For your true humidity lovers like Calatheas and Ferns, a small humidifier nearby is the most effective and hands-off way to keep them happy.
· The Low-Tech Trick: A simple pebble tray filled with water placed beneath your plants can provide a localized boost of humidity as the water evaporates.
The Winter Watering Reset: This is the trap that ensnares countless well-meaning plant parents. Plant growth slows way down in lower light conditions, which means their water consumption plummets.
· The Unbreakable Rule: Always check the soil moisture with your finger before you even think about watering. If the top inch or two of soil feels dry, then it's time. If it still feels damp, put the watering can down and walk away. Remember, overwatering is the #1 cause of indoor plant demise during the fall and winter.
Keep Them Cozy and Stable: Avoid placing your plants in the path of dramatic temperature swings. Steer clear of drafty windows and the direct, dry blast from heating vents. A stable, comfortable room temperature is what they need to feel settled after a season of outdoor variables.
Your Lush, Thriving Indoor Oasis is Closer Than You Think

Successfully transitioning your plants for the cooler months isn't about desperately avoiding failure; it's about confidently embracing a new, quieter kind of growth. By starting the process early, acclimating them with patience and care, and supporting them with a thoughtful, full-spectrum grow light setup, you can completely transform a potentially tricky season into a period of quiet, steady, and rewarding success.
This proactive and gentle approach is the true signature of a modern, savvy plant parent. And when you're ready to find the perfect, hassle-free lighting solution to make this your most seamless autumn transition ever, know that the SANSI team is here to help you craft a setup that doesn't just replace the sun, but beautifully extends the growing season right inside your home, all season long.


